Some time ago I had the chance to have a look into Sitecore CDP and Personalize and Sitecore Send and connect them.
In the previous blogpost I showed you how to do that via Audience Sync. This time I’ll introduce you into connection to Send via using a triggered fullstack experience.
1. Create your mailing list in Sitecore Send
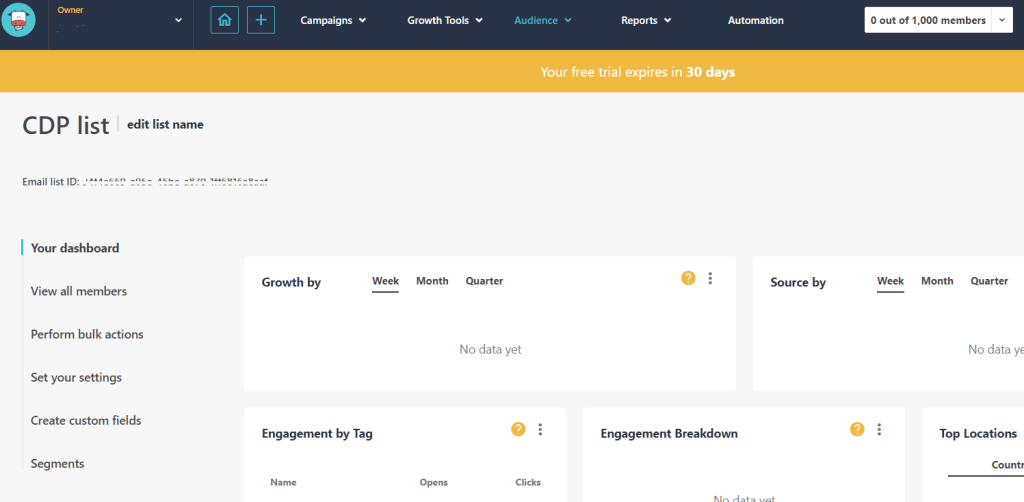
If you have no login to Sitecore Send you can easily register and test for free for 30 days. Go to https://moosend.com and register. After successfully logged in follow the steps to create a new mailing list. After creation it should look like this:
2. Create Sitecore Send API key
Go to settings in Sitecore Send and click on “API key”. Now you can can create a new API key or take the given one.

3. Create Connection in Sitecore CDP and Personalize
Login into Sitecore CDP and go to Connections. (Developer Center > Connections) Click “Add Connection” and choose “Destination”. Put in a name, description, choose an icon and choose no authentication.
Under “Configure Request” choose POST and put in the right URL:
https://api.moosend.com/v3/subscribers/{your-mailinglist-id}/subscribe.json?apikey={your-Send-API-key}Now put in example request data and test your connection.

After successfully testing the connection click “Next”, leave the suggested map as it is, click “Next” and save your connection.
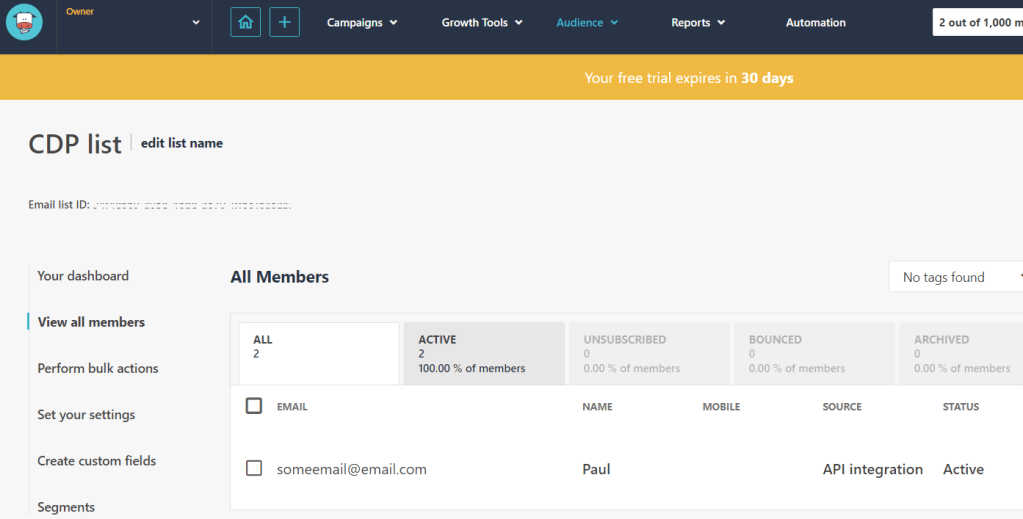
Check in your Sitecore send mailing list if the contact is there:
4. Create Interactive Fullstack Experience
Go to Experiences > Fullstack. Click on “Create Experience” in the upper right corner. Choose “Triggered Experience”. Your experience is created and you are redirected to the detail page.
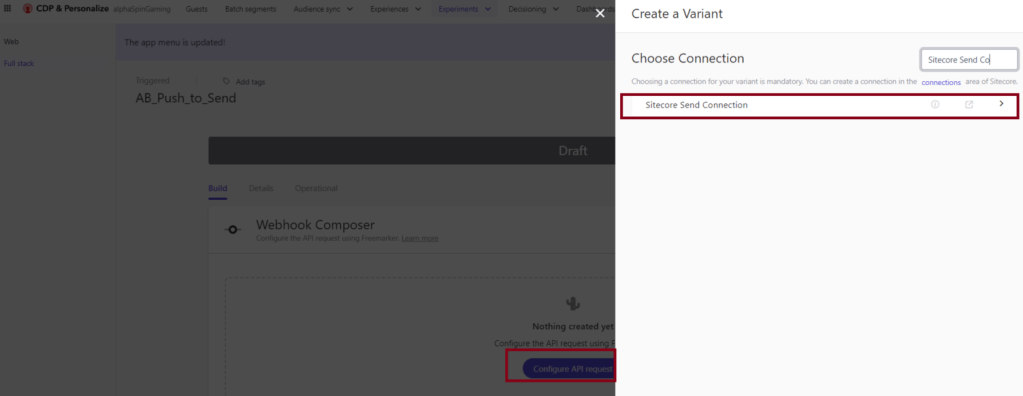
Now click on “Configure API request”, a popup appears and you choose your connection.
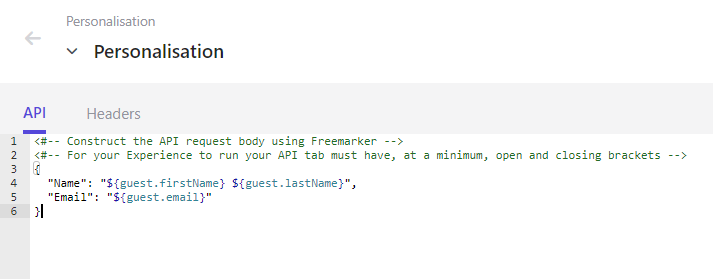
Next, the Editor is opened and you can define what will be sent to your chosen connection. The JSON should look similar to this:
Click Save and once it is saved, close the editor. You are done with setting up the connection to use and what to send to that connection. Next step is to define the trigger for the experience.
Back on the experience’s detail page you can see the section “Trigger”. Click on “Add”.
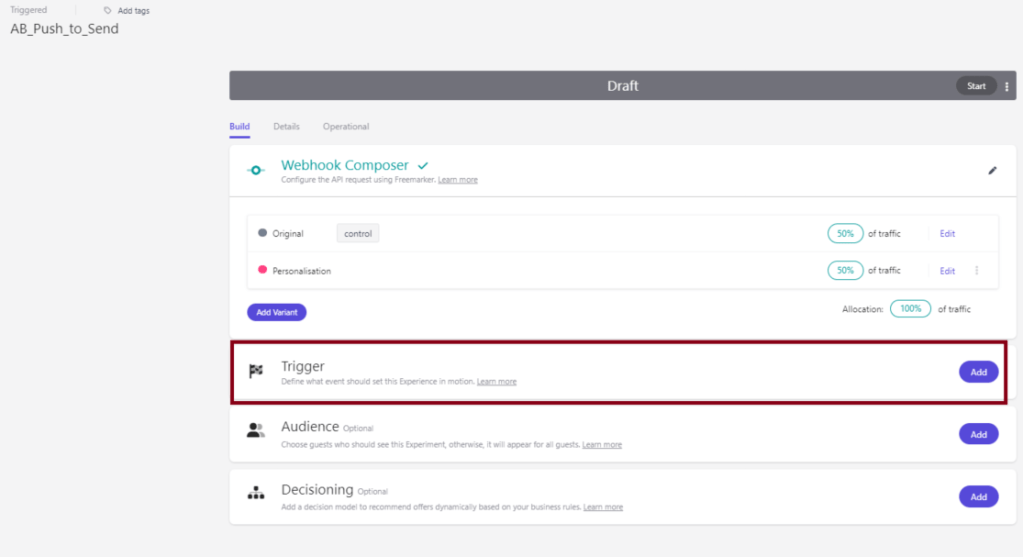
Now you can choose either a pre-defined trigger or a custom trigger.

In this case we use a custom event “PUSH_TO_SEND” to trigger the experience. Once you defined that click on “Save”.
Last thing to setup on the experience is the audience. We use a real-time audience to make sure that this experience is only triggered for visitors which already have firstname, lastname and an email in their guest profile, because that are the data we send over to Sitecore Send. Therefore, we setup an audience template.
5. Setup audience template
In a new tab open Sitecore CDP and Personalize and go to Developer Center > Audience templates. Click on “Create template” in the upper right corner. Put in a name for your template and click “Create”.
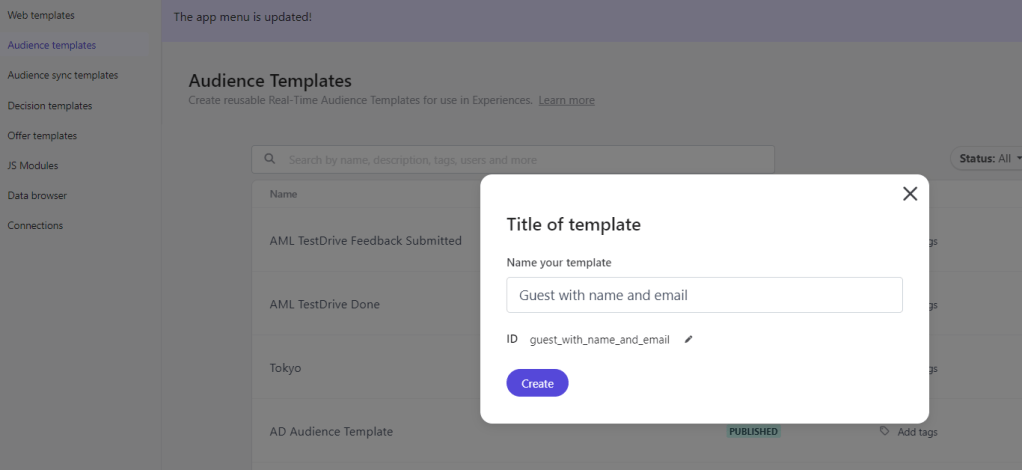
You are redirected to the editor to put in your needed JavaScript code. Put in something like the following:
(function () {
    return (guest.email !== undefined && guest.lastName !== undefined && guest.firstName !== undefined);
})();
Save your code and publish the template. Afterwards you can close it.

6. Choose the audience on your triggered experience
Go back to your other tab displaying the experience’s detail page, reload the page and click on “Add” in the Audience section. Choose “Real-time Audience” and select your created Audience template. Afterwards it looks like this:
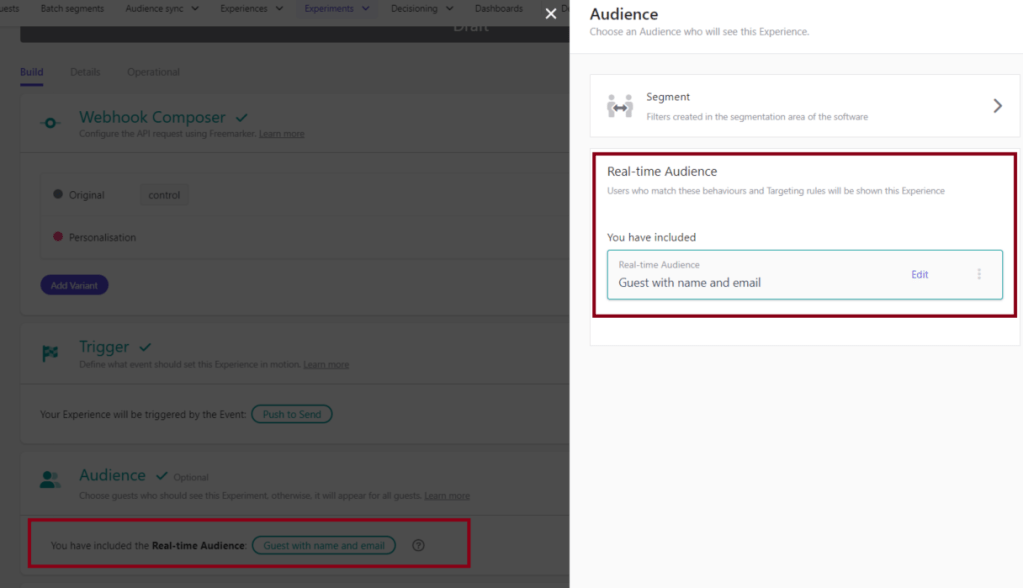
Now you set up the whole experience and you can start it by clicking the Start button on the top of the page.
7. Check your experience
To check if your experience works fine you can send the defined custom event either from your connected website via JS SDK or via API using Postman for example. Keep in mind to test the success you need to do this for a user who has email, lastname and firstname set in the profile.
Once you triggered the custom event you defined, you can go to your experience’s detail page and click on the tab “Operational”. There you can see if the experience was triggered and also if it was successful or if it failed. To see more details click on “Execution Report”.

Now you can see a list of all executions, click on “View Log” in the row of your attempt.
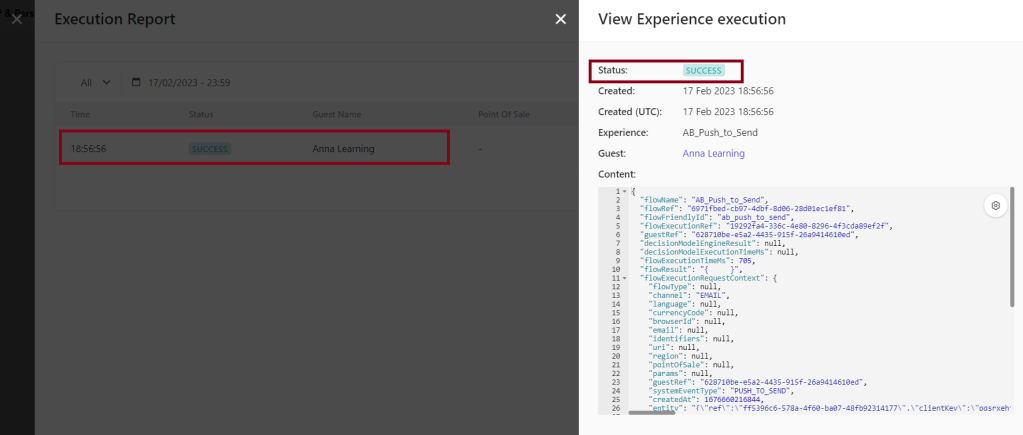
Here you can scroll through the whole JSON content and see – in case of an error – what went wrong.
Lastly check your Sitecore Send mailing list if your contact appears there as well.
And that’s it. You may wonder what if the user already exists? In the next blogpost I’ll describe a more complex experience with a decisionmodel including a connection to Send to get a clue, if the user already exists.
