Some time ago I had the chance to have a look into Sitecore CDP and Personalize and Sitecore Send and connect them.
One way is via Audience Sync in Sitecore CDP. This blogpost will guide you through the steps.
1. Create your mailing list in Sitecore Send
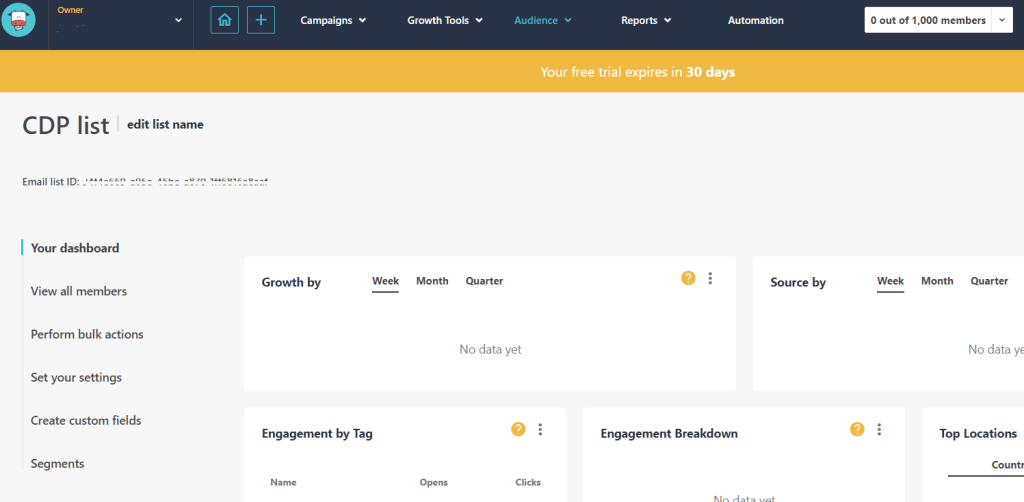
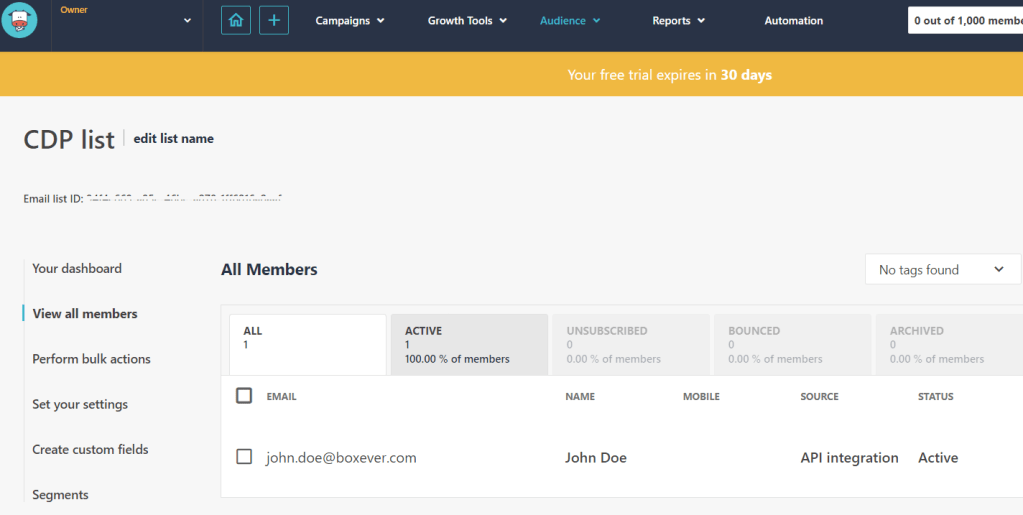
If you have no login to Sitecore Send you can easily register and test for free for 30 days. Go to https://moosend.com and register. After successfully logged in follow the steps to create a new mailing list. After creation it should look like this:
2. Create Sitecore Send API key
Go to settings in Sitecore Send and click on “API key”. Now can can create a new API key or take the given one.

3. Create External Service in Sitecore CDP and Personalize (Optional)
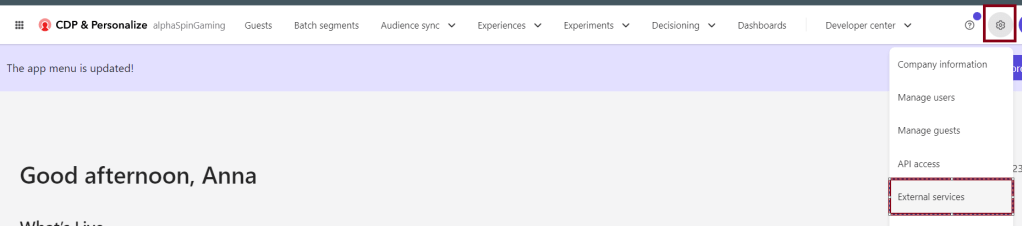
Login into Sitecore CDP and go to the External services.
Create a new service by clicking “Create” in the upper right corner.
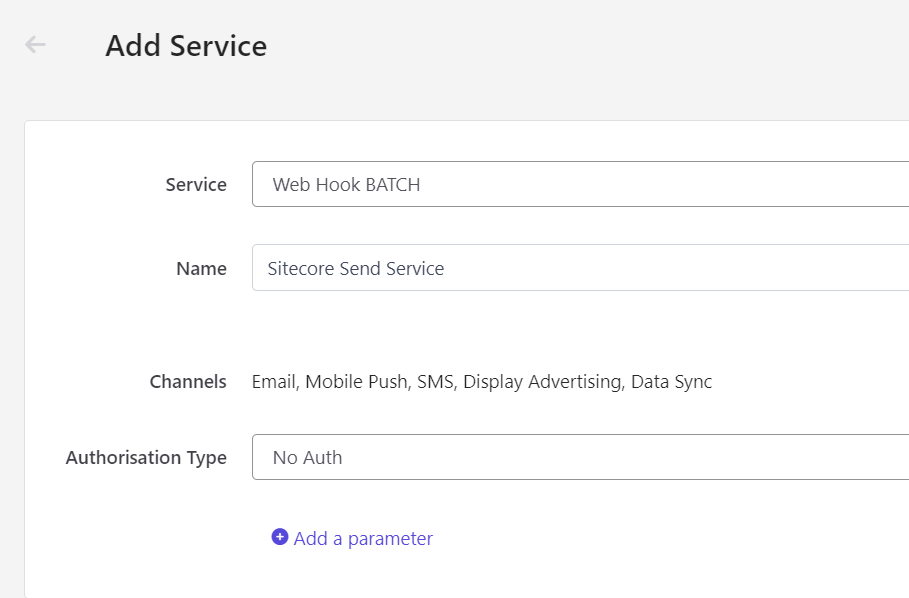
Choose e.g. Web Hook BATCH as “Service” and put in a name. For authentication choose “No Auth”. Save the service.
You don’t have to create a new service, you can also choose an already existing one later one.
4. Create Audience Sync template
Go to “Audience Sync templates” and click “Create Template” in the upper right corner.
Choose your created Service Credential or the one you want to use.
Now put in a name and description and configure the sync to your needs.
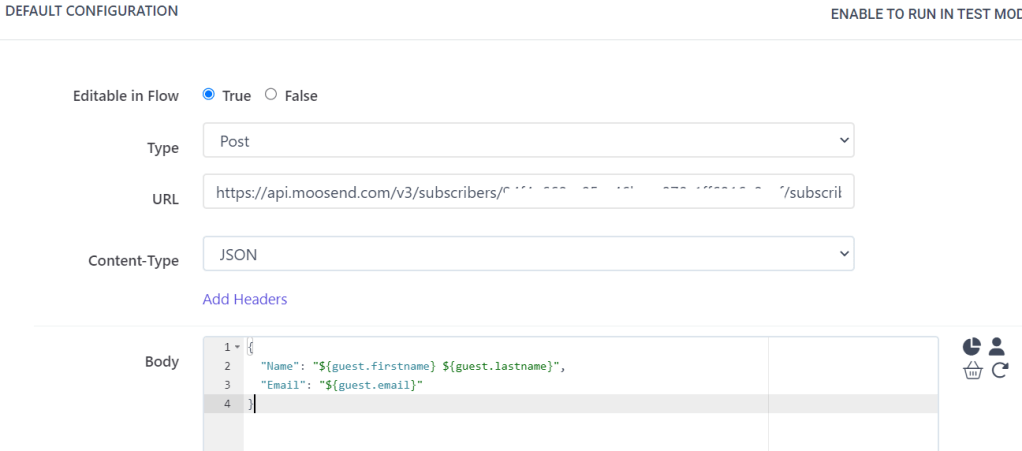
In the section “DEFAULT TRIGGERS & CONDITIONS” choose “Scheduled Batch” as Trigger. Make sure that “Editable in Flow” is true.
In the section “DEFAULT CONFIGURATION” choose “Post” as Type and put in your URL:
https://api.moosend.com/v3/subscribers/{your-mailinglist-id}/subscribe.json?apikey={your-Send-API-key}
Choose as Content-Type “JSON” and put in the needed body:
{
  "Name": "${guest.firstname} ${guest.lastname}",
  "Email": "${guest.email}"
}
By toggling the Sample data to “ON” you can see the body which is sent from the model. (Click on “Model” to see the data to test with). Now click on “Test Webhook”. You can see a green notificiation in the upper left if successful.

You can also check your Sitecore Send mailing list if the new contact is there.
Now that you’ve tested successfully you can save the Audience Sync Template.
5. Create the Audience Sync
Go to Audience Sync > Audience Sync and click on “Create Sync” in the upper right corner. Select your created template.
Put in a name and description. Now you need to configure the schedule.
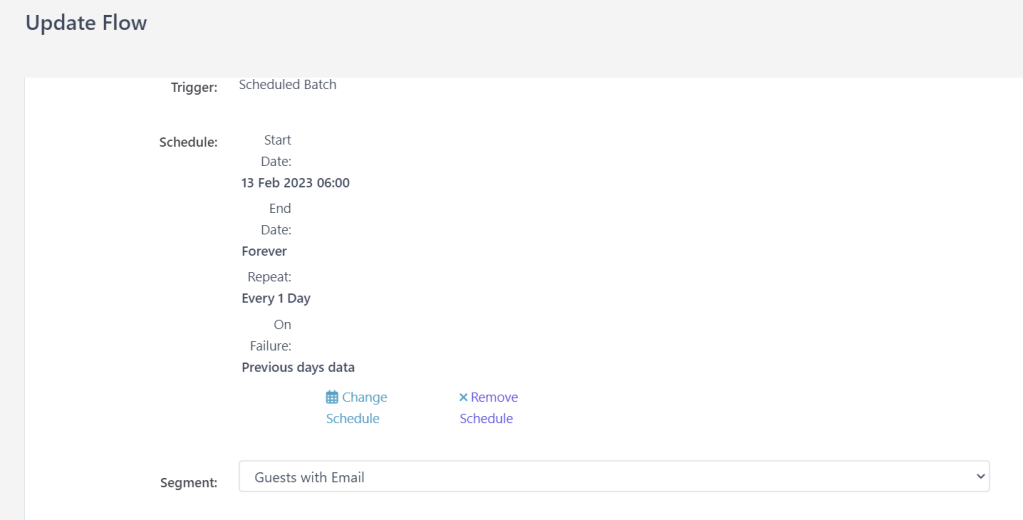
As you can see I selected everyday at 6am (This is always UTC), you can choose what fits your needs. Important: here you choose the segment you want to sync. I have a batch segment in place with all visitors who have an email address in Sitecore CDP. If you don’t have something similar in place create the segment and keep in mind that it takes some time to be built.
Now save the Audience sync. On the overview you can see that your sync is scheduled.

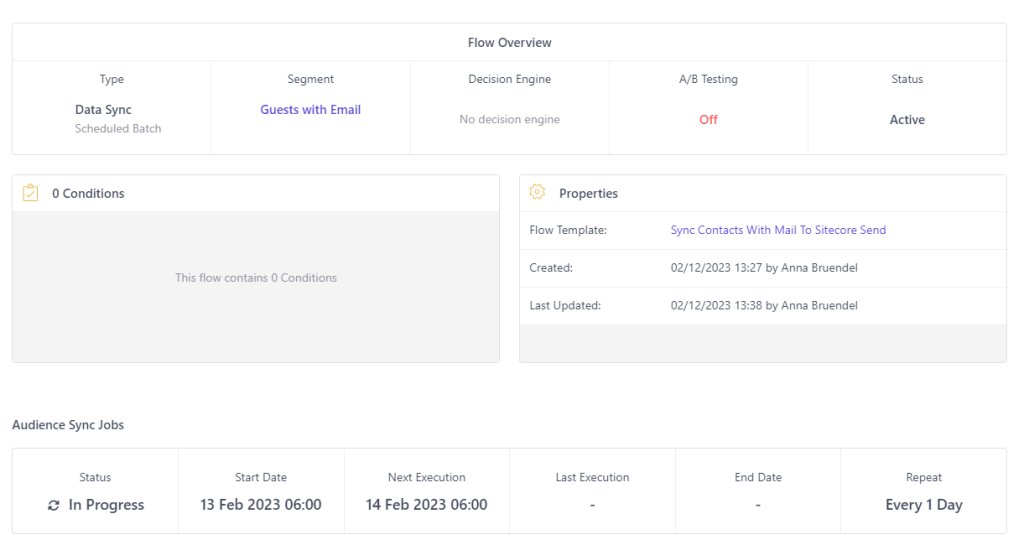
When your Audience Sync is in progress, it looks like the following in CDP:
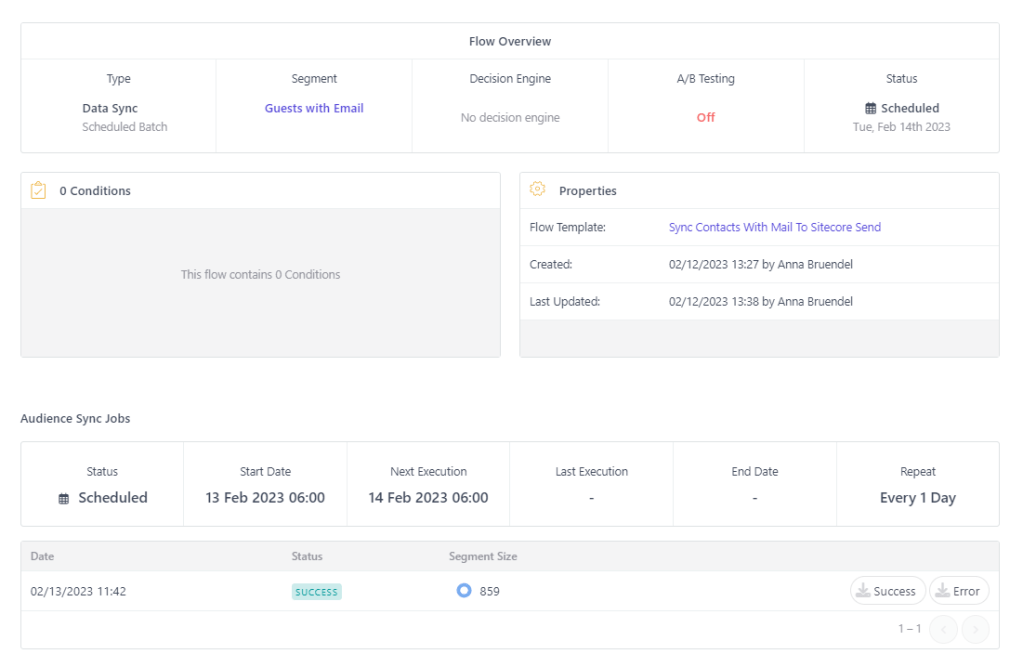
Once the Audience Sync is done successfully, the detail page in Sitecore CDP looks like this:
Last thing to do is to check the list in Sitecore Send. In my case it looks like this:
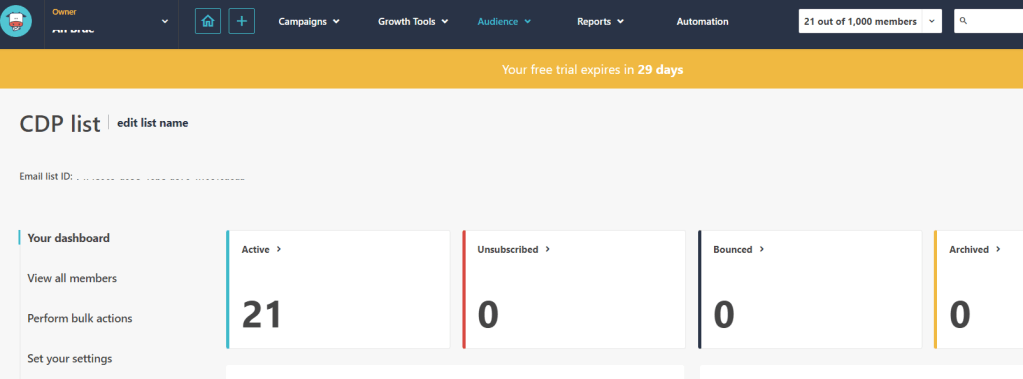
As you can see, my Sitecore Send list does not contain all the contacts from the segment in Sitecore CDP (859). If you experience the same, that your number of contacts differs you can download the error-log from your audience sync:

By clicking that you download a gzip-folder which contains a JSON with all errors and you can find out what went wrong.
(In my case it was just the fact that only 21 contacts had the details I put in the request to send to Sitecore Send: Firstname, Name and Email)
